Building my first mechanical keyboard
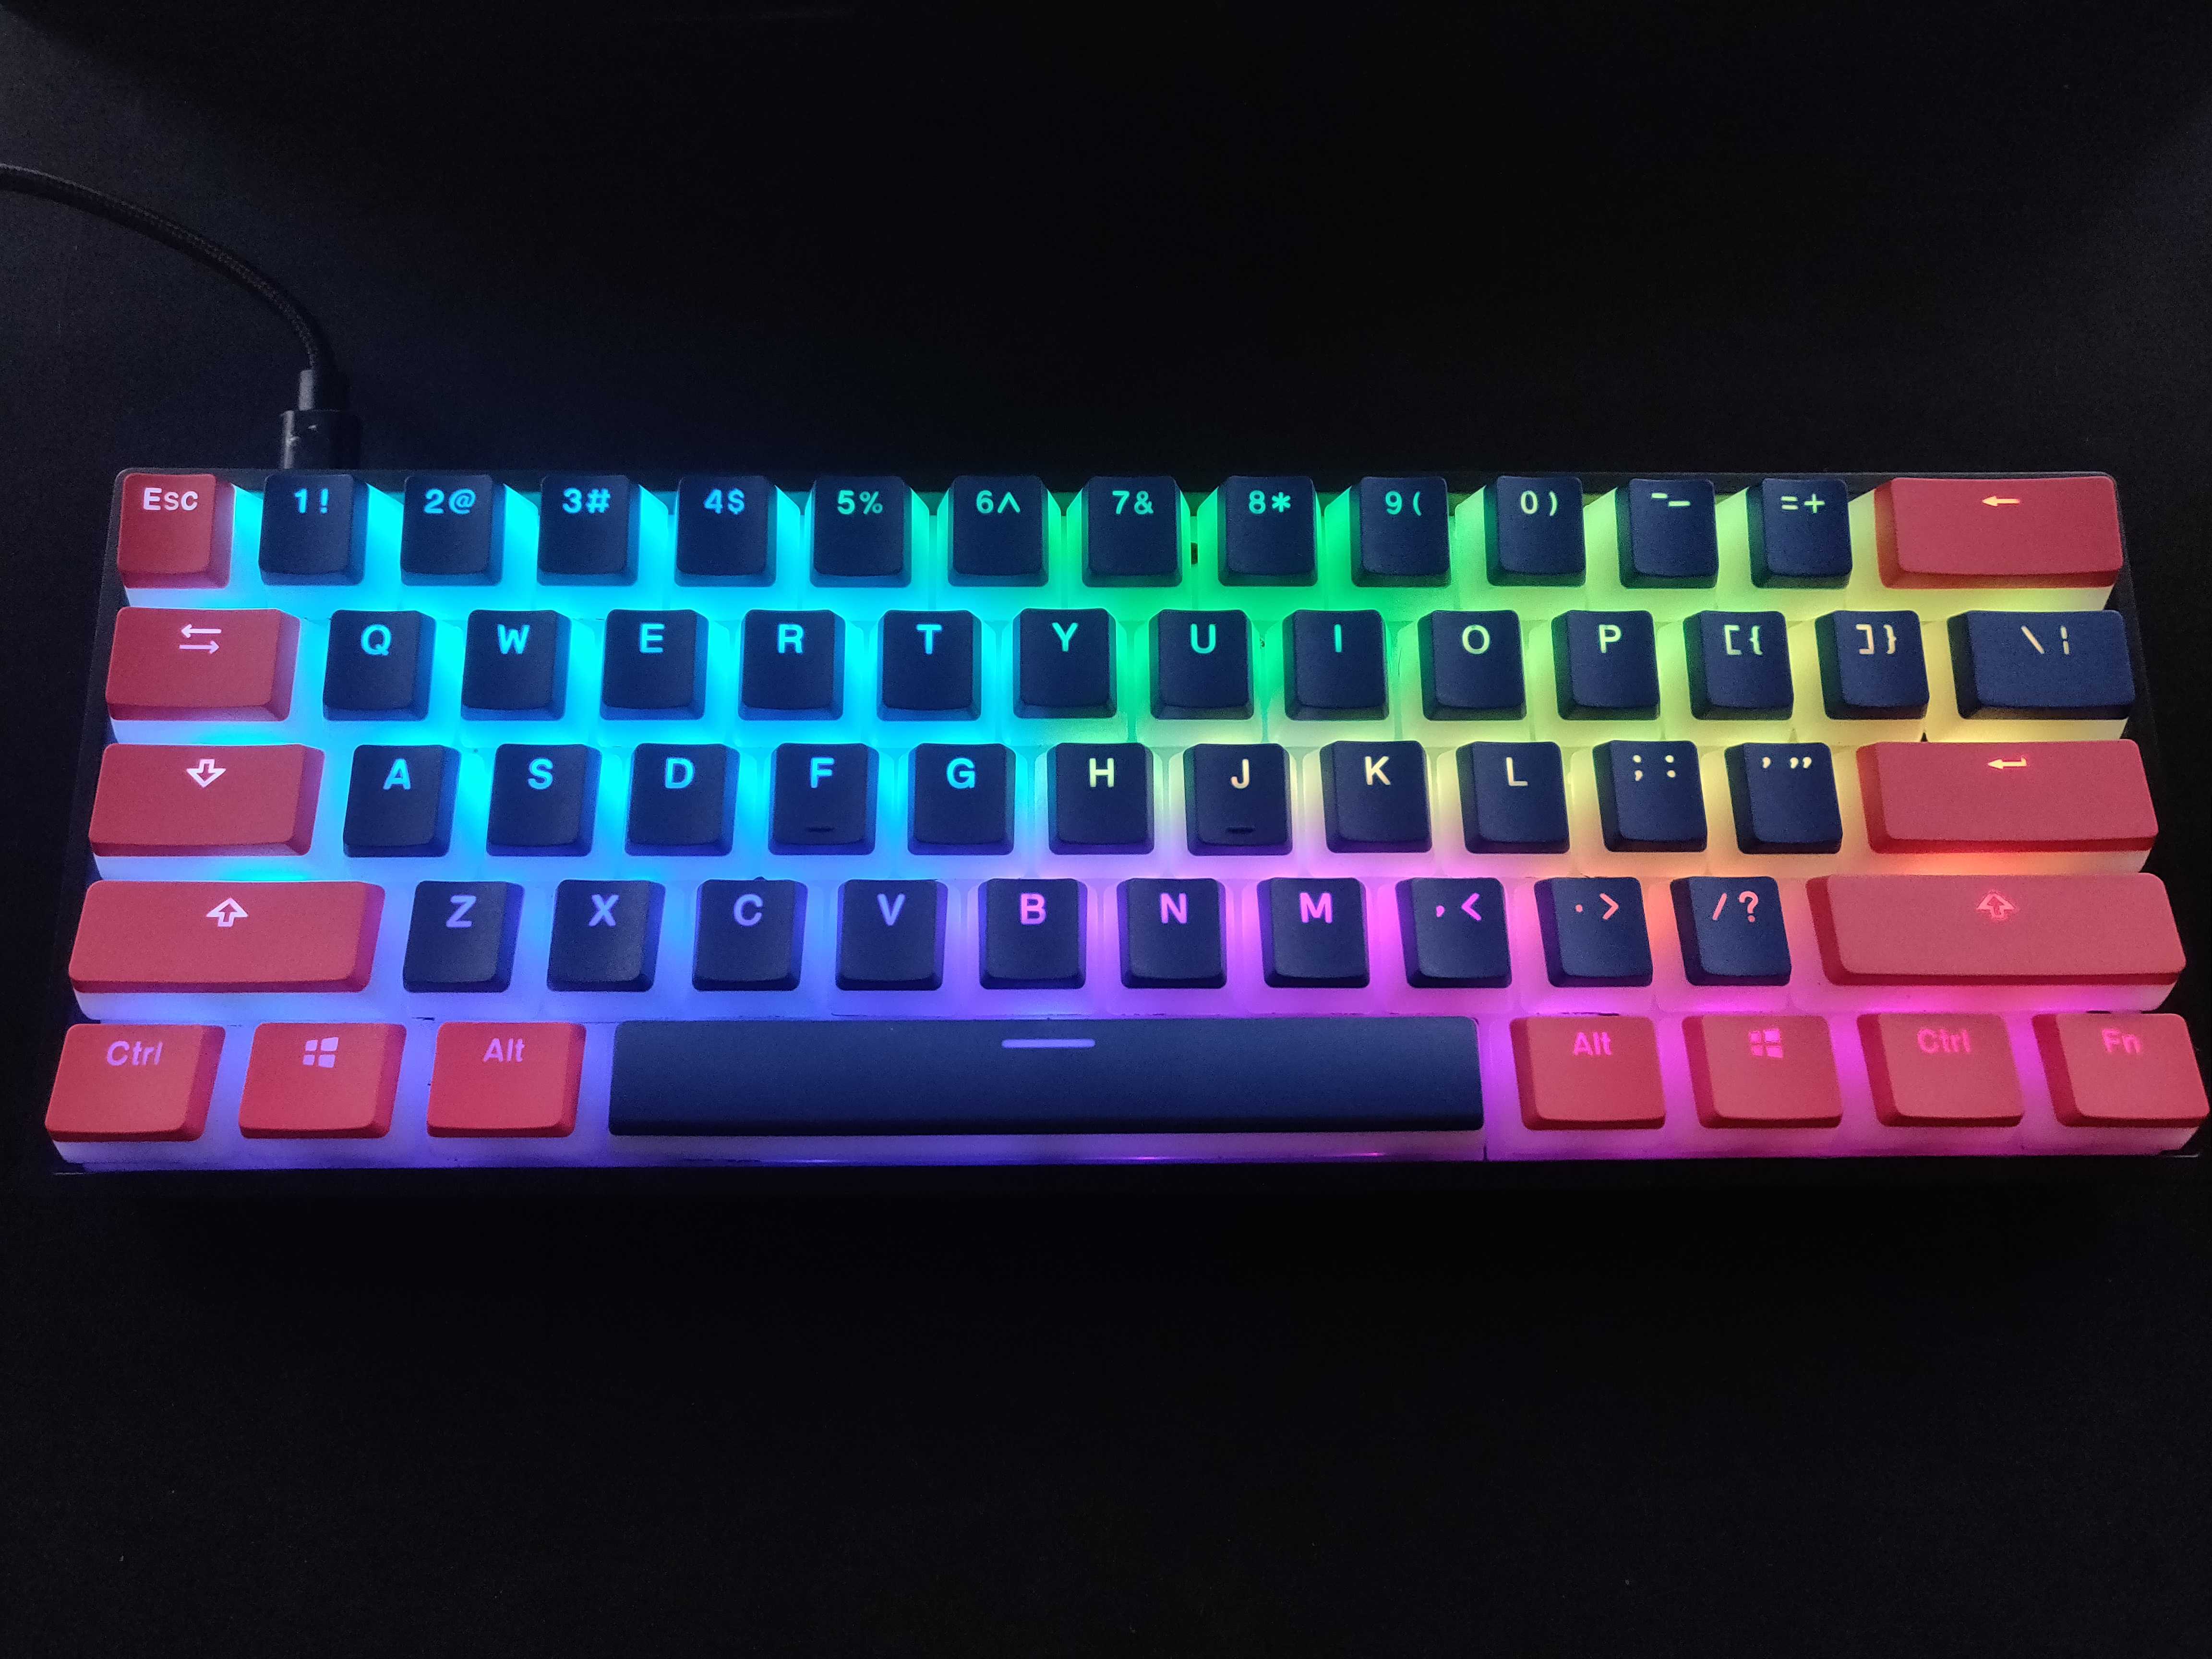
I have been wanting to build a split keyboard for some time specifically lily58 Unfortunately, my first mechanical keyboard is not a split keyboard because of various reasons. I did a custom build of a 61 keys standard style keyboard (image and build montage below).
Disclaimer: I am still a beginner in the world of mechanical keyboards. You might get better info/opinions on a random reddit thread (that’s how I got it)
I can see that building and buying mechanical keyboards is an expensive hobby. Also, I could see that it’s a little difficult to procure parts or even completely manufactured keyboards in India. To be honest, I didn’t do any legwork to see if I can get parts and stuff from local vendors.
Only options I could see for the lazy me were:
- Import some manufactured keyboard which I like. This option is too expensive because shipping, high import duty in India etc.
- Choose among the limited set of non-out-of-stock keyboards from online shopping websites. The ones in stock are still in stock because they are non RGB, not really good value for money etc. You could either be patient and wait for re stocking, pre-order etc. I didn’t do this.
- Import or find individual components. I didn’t find much online in India. However, you could import them but again not a very cost efficient option because of reasons stated previously. meckeys.com proved to be the savior in my case as I bought everything from here.
The Build
I ordered 3 parts:
Assembling these pretty straightforward like putting lego blocks. Maybe a little more careful lego block building. It took me more effort to do the stop motion recording than assembling it. Could’ve easily done it in 10 minutes.
Keycaps Review
The Ducky pudding keycaps are pretty good quality, they are double shot PBT. ABS ones are usually cheaper than these. The pudding style keycaps look really good with this RGB board.
I would’ve bought a Ducky keyboard if I had not done this custom build. I have heard good reviews about it.
Key Switches Review
Overall, I am pretty happy with the choice of my key switches. I was a little skeptical about it since I haven’t try anything other than Cherry MX Blue which is a more tactile key switch. I definitely didn’t want that and neither the linear switches but somewhere in the middle. Turns out that Cherry MX brown is exactly that and therefore, I ordered that.
The Barebone Kit
I looked around a lot and there was only this one barebone kit available for custom builds. Overall, the board is pretty solid, strong, good finish had decent enough instructions to set it up. The casing is built out of ABS.
Biggest drawback of this board is its offical software for configuration and all the RGB stuff. It’s really bad. From the looks of it, some people didn’t face much problems but most of the people may share the same sentiment as mine. The software is not very intuitive and buggy. I would use factory settings than using this software to configure anything.
pixeltris proved to be the hero we needed. He/She has made an alternative tool which allows you to set keys, macros, and lighting for GK6X keyboards (this keyboard included).
The repo: https://github.com/pixeltris/GK6X
Build Montage
Build montage
Final Build

In the end, another contribution of China to the list of products I own. More on it at: made-in-x.
